
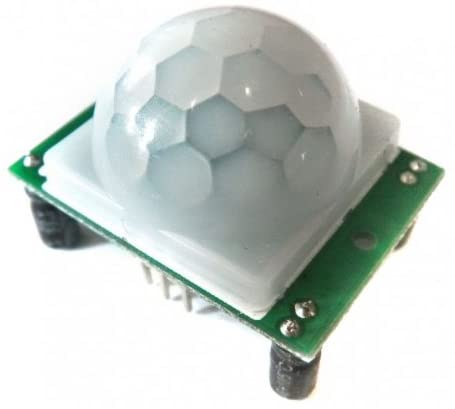
キーボード入力から定型アクションが起動できたので、GPIO入力からも当然同じことができる筈です。防犯カメラの時に試しに買っていた人感センサがあるのでそれで試してみました。
以下のページを参照しました。
【Raspberry Pi】自作人感センサーの使い方と活用法
https://chasuke.com/motionsensor/
メスーメスのケーブルを持ってなかったのでブレッドボードを使いました。
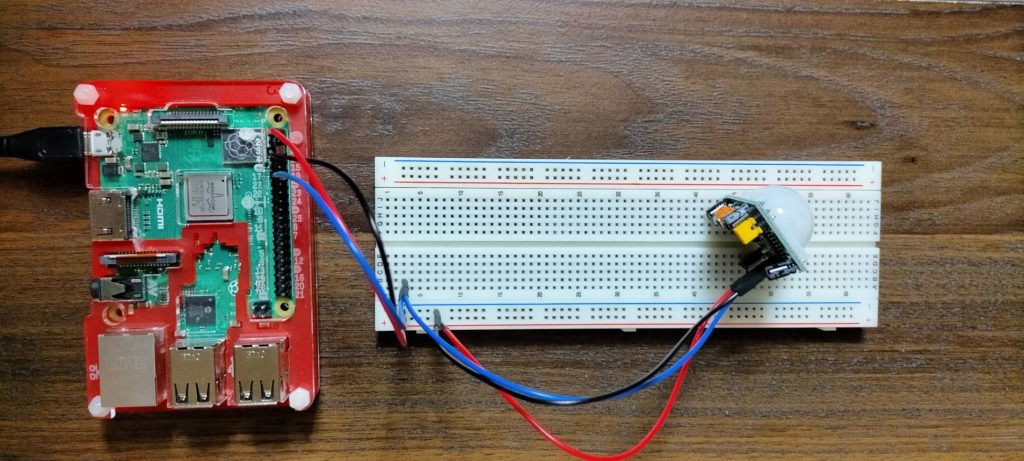
ページに掲載したプログラムを動かすとちゃんと動きました。
alexa_trigger.pyは関数化して同じプログラム内に入れ込みました。問題なく動作しました。
以下、プログラムです。
import sys
import os
import json
import datetime
from trace import Trace
import requests
from datetime import datetime
import time
import RPi.GPIO as GPIO

def detect_sensor( no ):
  client_ID = ''
  client_secret = ''
  refresh_token=''
  sensor_name = 'dummy_sensor_' + format(no, '0>3')
  token_file = './token.txt'
  today = datetime.today()

  # アクセストークンが有効かどうかチェックする
  access_token = ''
  access_token_valid = False
  if os.path.exists(token_file):
    #ファイル有、データ読み込み
    f = open(token_file)
    data = f.read()
    f.close()
    jdata = json.loads(data)
    expires = jdata['expires_in']
    f_time = os.path.getmtime(token_file)
    file_time = datetime.fromtimestamp(f_time)
    expiring_date = datetime.fromtimestamp(f_time + expires)
    if today < expiring_date:
      # アクセストークン有効、取得
      access_token_valid = True
      access_token = jdata['access_token']

  # アクセストークンが無効の場合はoa2サーバーから取得
  if not access_token_valid:
    header_str = {
      'Content-Type': 'application/x-www-form-urlencoded;Accept-Charset=UTF-8'
    }
    body_str = {
      "grant_type": "refresh_token",
      "refresh_token": refresh_token,
      "client_id": client_ID,
      "client_secret": client_secret
    }
    response = requests.post('https://api.amazon.com/auth/o2/token', data = body_str, headers = header_str)
    if response.status_code != 200 :
      print(response.status_code)
      exit()
    jdata = json.loads(response.text)
    access_token = jdata['access_token']
    if len(access_token) > 0:
      access_token_valid = True
      # ファイルに書き込み
      f = open(token_file, 'w')
      f.write(response.text)
      f.close()

  if not access_token_valid:
    print('can not get access_token')
    exit()

  # イベントゲートウェイにイベントを送信する
  message_id = sensor_name + '_' + str(today)
  timeOfSample = today.strftime('%Y-%m-%dT%H:%M:%S.00Z')
  header_str = {
      'Authorization': 'Bearer ' + access_token,
      'Content-Type': 'application/json'
  }
  json_str = {
    "event":{
      "header":{
        "namespace":"Alexa",
        "name":"ChangeReport",
        "messageId":message_id,
        "payloadVersion":"3"
      },
      "endpoint":{
        "scope":{
          "type":"BearerToken",
          "token":access_token
         },
         "endpointId":sensor_name
      },
      "payload":{
        "change":{
          "cause":{
            "type":"PHYSICAL_INTERACTION"
          },
          "properties":[
            {
              "namespace":"Alexa.MotionSensor",
              "name":"detectionState",
              "value":"DETECTED",
              "timeOfSample":timeOfSample,
              "uncertaintyInMilliseconds":0
            }
          ]
        }
      }
    },
    "context":{
      "properties": [
        {
          "namespace": "Alexa.EndpointHealth",
          "name": "connectivity",
          "value": {
            "value": "OK"
          },
          "timeOfSample": timeOfSample,
          "uncertaintyInMilliseconds": 0
        }
      ]
    }
}

  response = requests.post('https://api.fe.amazonalexa.com/v3/events', json = json_str, headers = header_str)
  if response.status_code == 202:
    print('success')
  else:
    print(response)


# インターバル
INTERVAL = 3
# スリープタイム
SLEEPTIME = 20
# 使用するGPIO
GPIO_PIN = 18

GPIO.setmode(GPIO.BCM)
GPIO.setup(GPIO_PIN, GPIO.IN)

if __name__ == '__main__':
    try:
        print ("処理キャンセル:CTRL+C")
        cnt = 1
        while True:
            # センサー感知
            if(GPIO.input(GPIO_PIN) == GPIO.HIGH):
                print(datetime.now().strftime('%Y/%m/%d %H:%M:%S') +
                ":" + str("{0:05d}".format(cnt)) + "回目の人感知")
                detect_sensor( '0' )
                cnt = cnt + 1
                time.sleep(SLEEPTIME)
            else:
                print(GPIO.input(GPIO_PIN))
                time.sleep(INTERVAL)
    except KeyboardInterrupt:
        print("終了処理中...")
    finally:
        GPIO.cleanup()
        print("GPIO clean完了")
タクトスイッチ等を使っても当然できることでしょう。pico Wの発売が待たれます。